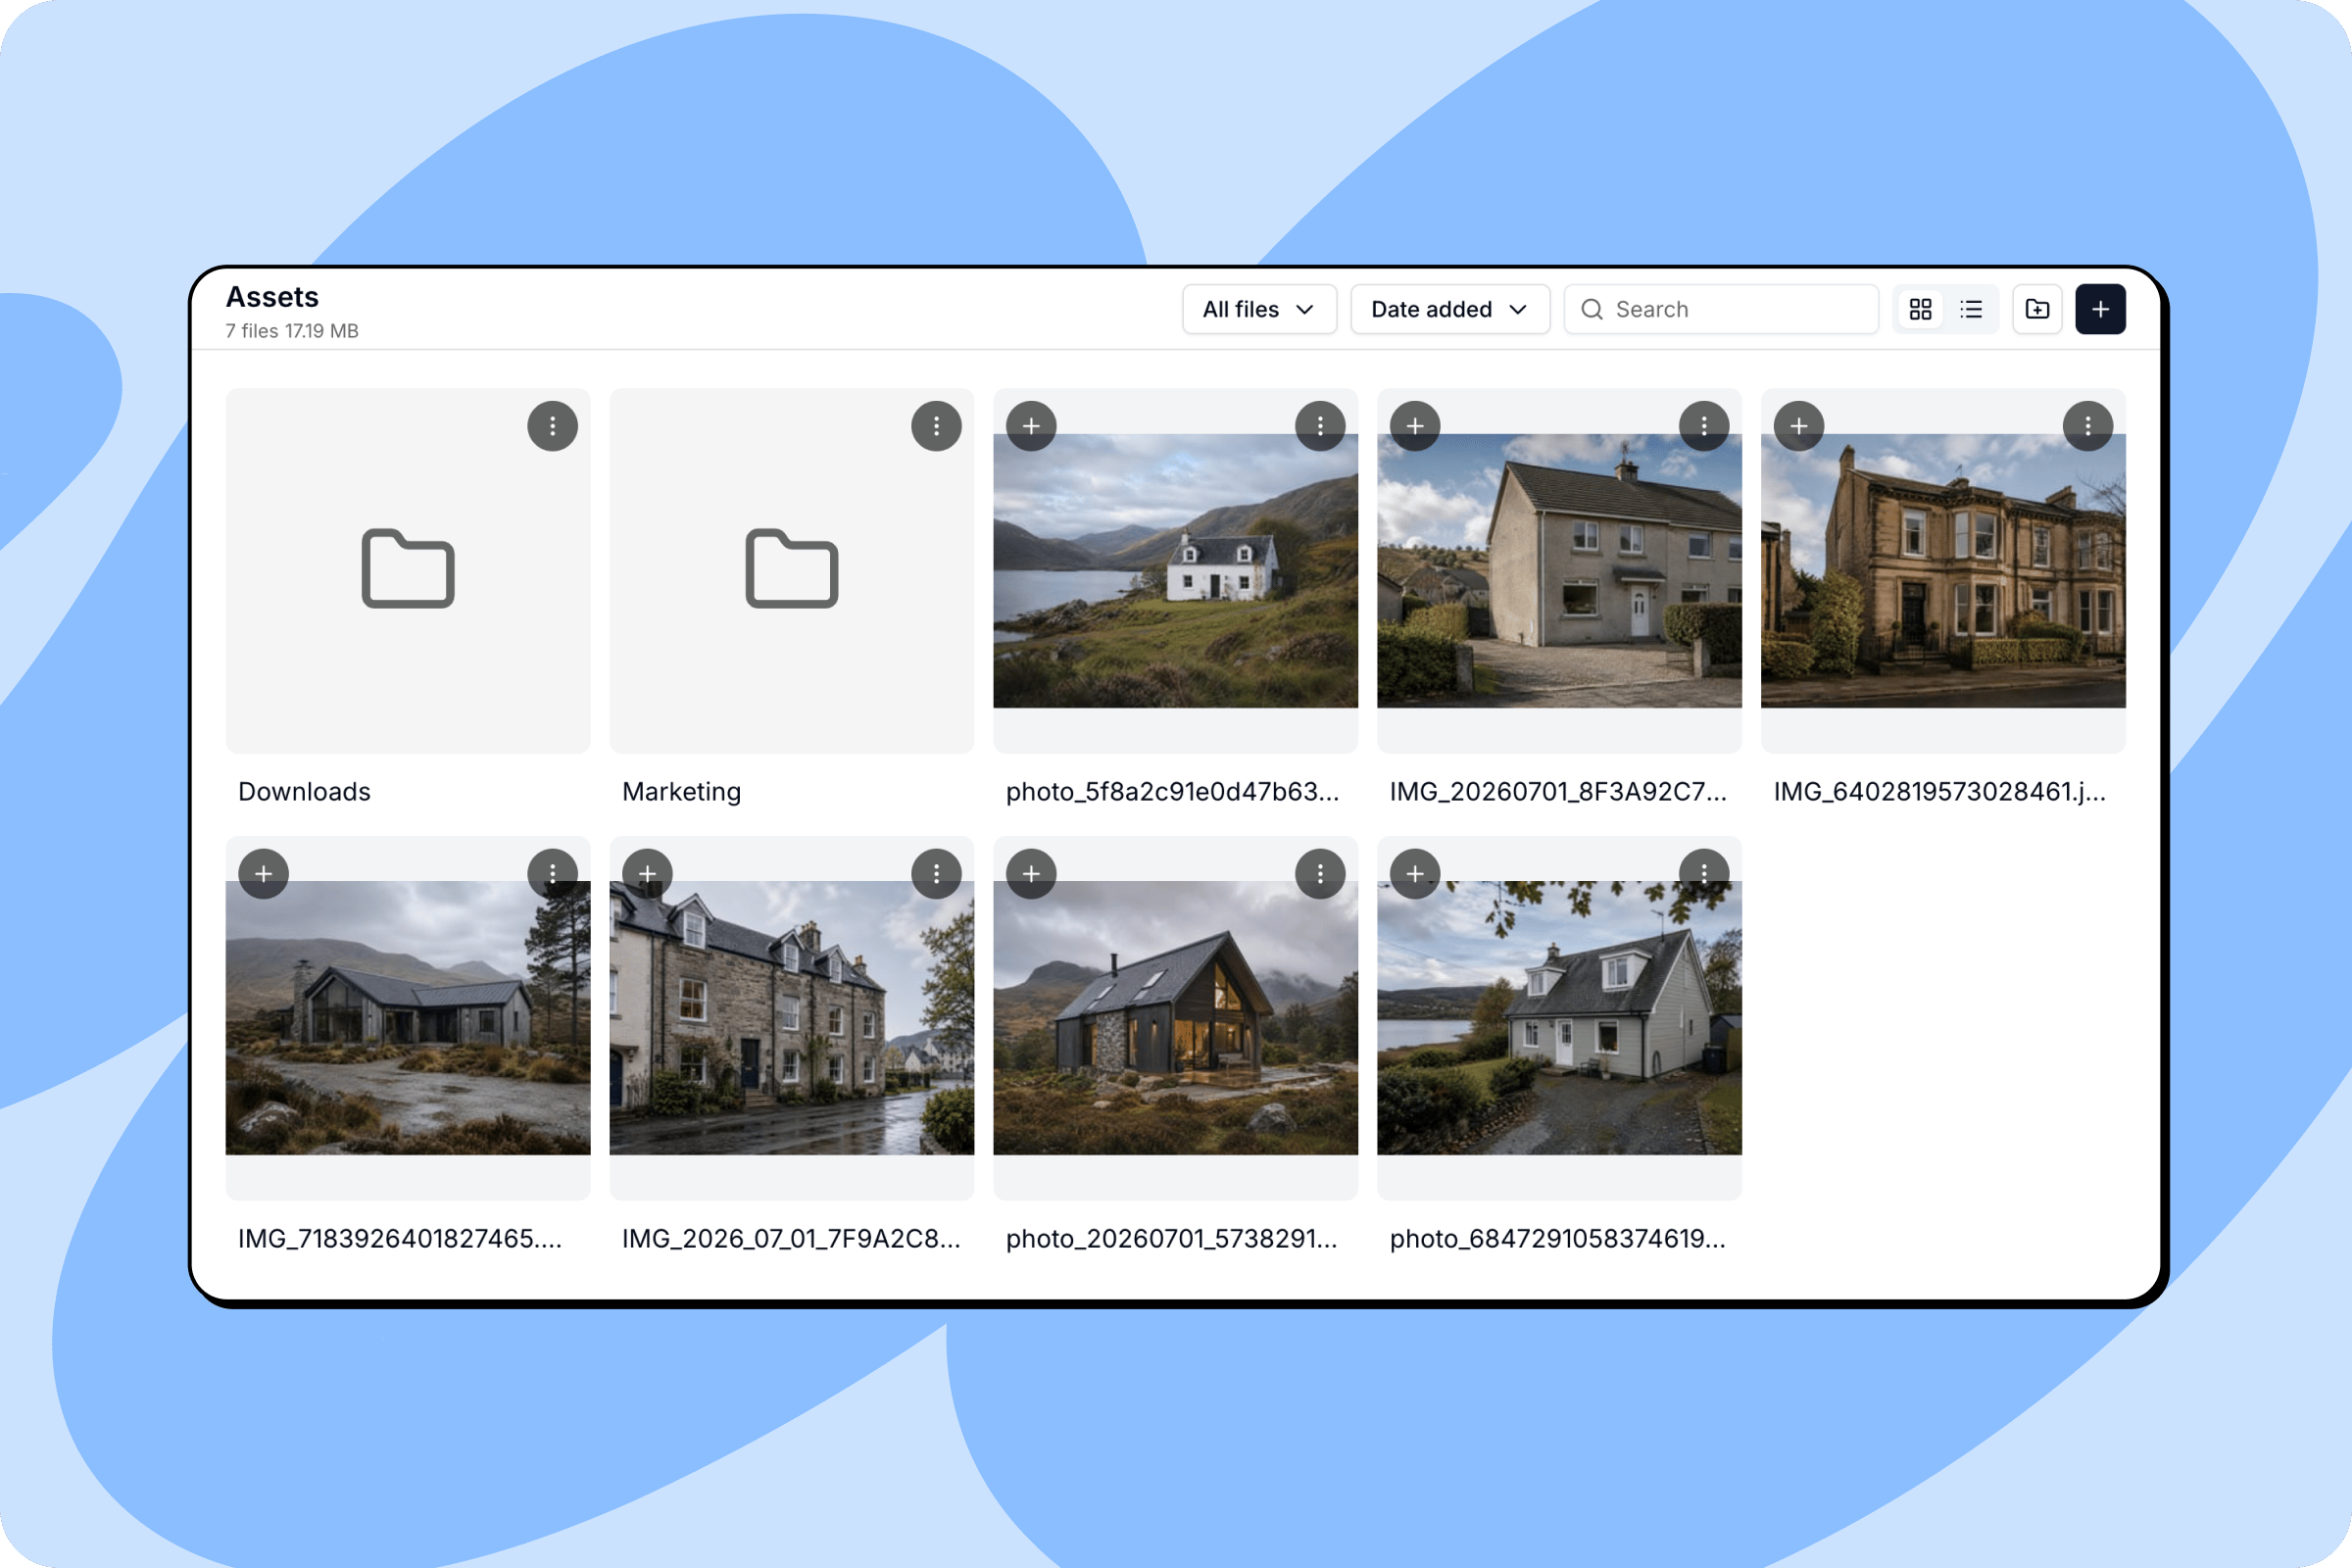
The Assets tab is your project’s media library. Images, documents, videos, and audio you upload or drag into the chat are stored here, ready to be used across your app.The agent uses these files automatically when they’re relevant. You can also reference them directly in prompts if you want to make sure a specific asset gets used. Files uploaded here count toward your workspace’s assets storage.
Click the folder icon in the top-right to create a folder. Give it a name and it appears in the grid alongside your files.To open a folder, click it. The breadcrumb at the top updates to show your location (for example, Assets > Marketing), and a .. card in the top-left takes you back one level.
Click the + button on a file card to add that asset to the chat, ready to reference in your next prompt.Click the … menu on any file card to open its actions:
Open in tab: Open the file in a new browser tab for a full-size preview.
Edit in Canvas: Send the file to Canvas, Macaly’s built-in image editor, for adjustments.
Download: Save the file to your device.
Select: Select the file for bulk operations.
Rename: Give the file a new filename.
Delete: Remove the file from your project. This cannot be undone.
Files that people upload while using your app, such as profile pictures, attachments, or documents, don’t go into your Assets. They have their own tab in the media library, App user uploads, so you can see what your users have added.Each file shows whether it is Public or Private. Public files can be opened by anyone who knows their address, which makes them right for avatars or product photos. Private files can only be opened through your app, which first checks who is asking. They suit invoices, uploaded documents, and anything else that belongs to one user.Click a file to open it in a preview, where you can copy its URL, download it, or delete it.
Delete from storage removes the file permanently, but your app’s database will still refer to it. Delete the file inside your app first, or a broken link may appear in its place.
When you ask the agent for an upload feature, it stores the files in this tab automatically. Describe what users will upload and who should be able to see the files, for example: “Let users upload a profile photo, visible to everyone” or “Let customers attach a PDF to their order that only they and the admin can open.”
When you duplicate your own chat, all assets are copied to the duplicate. Both projects then have independent asset libraries, so changes in one don’t affect the other. If the original project holds app user uploads, the duplicate starts with an empty database. See Duplicating your own project.
Was this page helpful?
Assistant
Responses are generated using AI and may contain mistakes.